

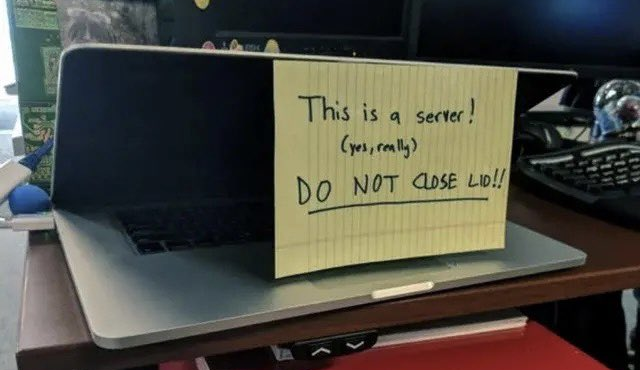
I turned my old macbook into a linux server because why not 🍎🐧
Disclaimer: This is a super specific guide that likely won’t apply to many people at all
Yo! I'm a Software Engineer with a lil blog.
Alrighty, so just like those stupid recipe sites, I’ll first write up 5 pages telling you a long unnecessary story about my first experience with Linux. I’ll then explain how what you’re referring to as “Linux”, is in fact, GNU/Linux, or as I’ve recently taken to calling it, GNU plus Linux.
… nah just kidding. Literally everyone hates that.
But for real, I had an old 2013 MacBook Pro that’s been gathering dust so I figured I’d throw Linux on there. To spice things up just a tad, I don’t have any ethernet in the house (it’s a rental). I would need to set the server up to have a static IP via wifi.
It was super easy and def didn’t frustrate me at all or take me 2 days to finish.
Gonna keep this as short as possible and just link out to other guides for the most part.
Installation
Download the Ubuntu Server 24.04.1 LTS (or whatever version) iso file.
Follow these steps to create a bootable USB
Flash it to a USB drive (should be at least 5GB) using balenaEtcher
Boot Macbook to USB
-
One thing to note if you are like me with just wifi, you may not see your network connection configuration during the install. I first tried to install via offline mode. This proved difficult post installation when I needed my wireless drivers. You can probably get this to work by installing drivers on another system, putting them on a drive, then installing on your server… but I figured it would be quicker to reinstall 🤷
I highly recommend just hardwiring your laptop during installation. For me, that was plugging directly into my ISP-issued modem/router/switch thing (technical term) using an ethernet to USB-A dongle.
Post-Installation
Alrighty so right after install, do the thing and update all packages:
sudo apt update && sudo apt upgradeOkie doke so now the fun part. After (and during) install, my OS didn’t recognize my wireless card. This thread was exactly what I needed 👌
Next step was configuring a wifi connection with static IP. I found this guide, which got me mostly there, but it’s for dynamic IP with DHCP. I got that working, then asked my good friend Claude to help me update my config for a static IP. Here’s what my Netplan configuration file ended up looking like (I changed the IPs and removed specific names so pls don’t hack me 🥺👉👈)
network:
  version: 2
  ethernets:
    <ethernet interface name>:
      dhcp4: true
  wifis:
    <wireless interface name>:
      dhcp4: false
      addresses:
        - 192.168.0.21/24
      routes:
        - to: default
          via: 192.168.0.1
      nameservers:
        addresses: [192.168.0.1]
      access-points:
        "<SSID>":
          password: "<password>"
- After that, just restart the NetworkManager service or reboot and you’re all set!
Congrats you did it! 👍